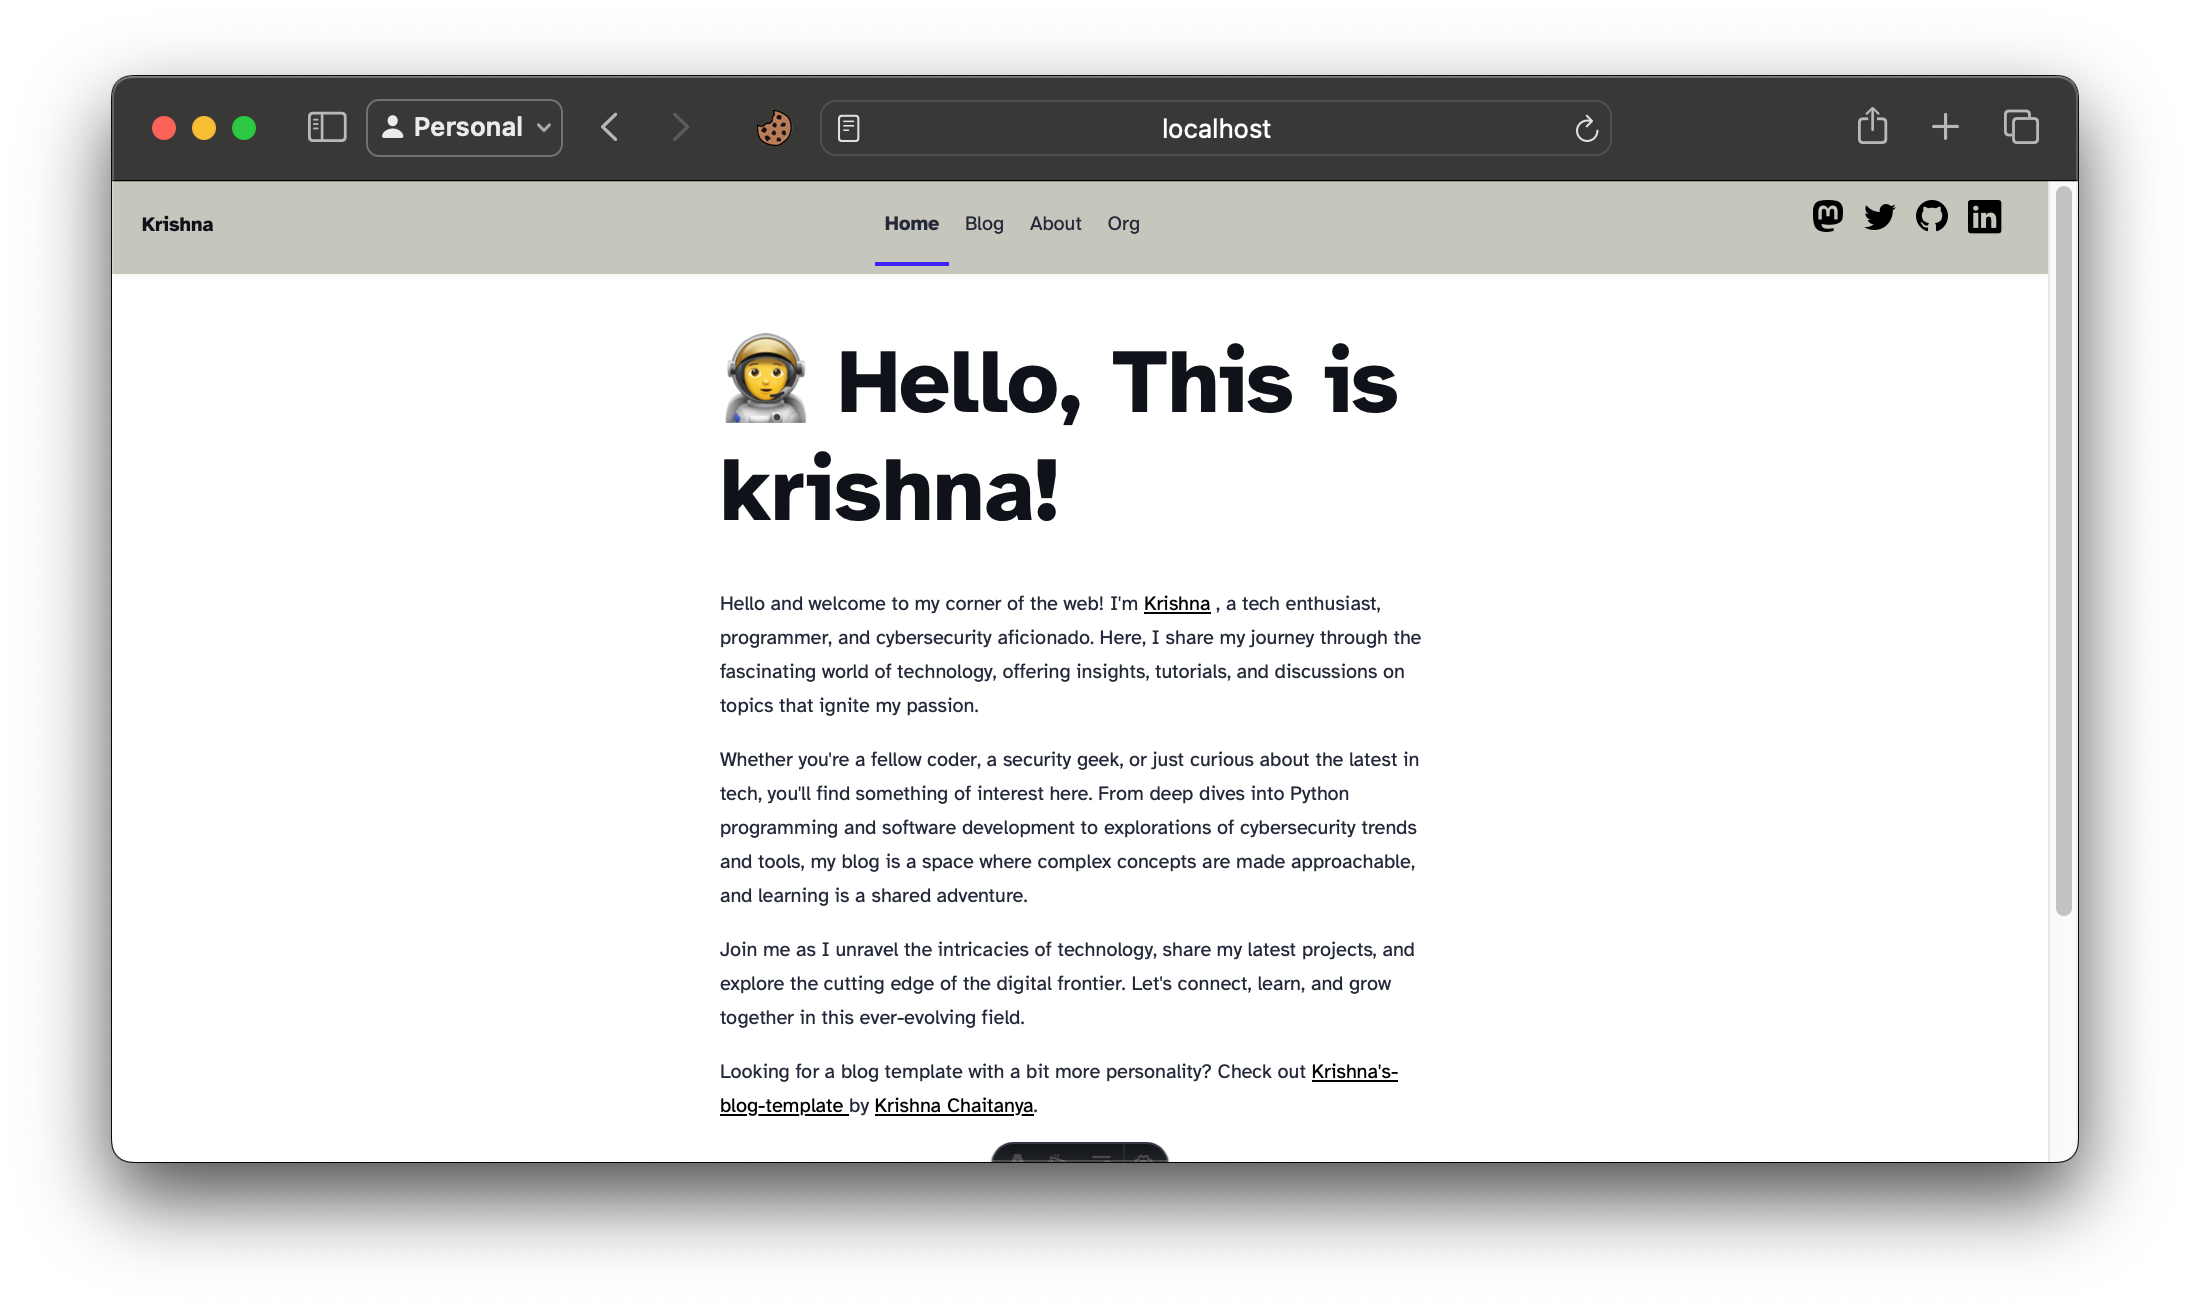
My Blog Tutorial
Creating a Blog Website with Astro: A Journey with “Magical-Metal”
In this blog post, I’ll walk you through the process of creating a blog website using Astro, which I’ve affectionately named “magical-metal.” Whether you’re new to Astro or just looking for inspiration for your next project, I hope this guide helps you get started with this powerful static site generator.
Why Astro?
Astro is a modern static site generator that allows you to build fast, content-focused websites with ease. Its key features include:
- Component-Based Architecture: Astro uses components to build pages, making it easy to create reusable UI elements.
- Built-In Optimization: Astro optimizes your site for performance out of the box, including features like automatic image optimization and JavaScript loading.
- Flexible Rendering: It supports multiple rendering options, including static site generation (SSG) and server-side rendering (SSR).
Setting Up the Project
Step 1: Install Astro
First, ensure you have Node.js installed. Then, create a new Astro project by running:
npm create astro@latest
You’ll be prompted to choose a template. For this project, I selected the “Blog” template, which provides a great starting point for a blog site.
Step 2: Navigate to Your Project
Once the installation is complete, navigate to your project directory:
cd {Your website name}
Step 3: Install Dependencies
To install the required dependencies, run:
npm install
Step 4: Start the Development Server
To start the development server and see your site in action, run:
npm run dev
If you encounter issues like the astro command not being found, make sure Astro is installed locally or globally, as explained in the troubleshooting section above.
Customizing Your Blog
Adding Blog Posts
Astro uses Markdown for blog posts. To add a new post, create a new Markdown file in the src/pages/posts/ directory. Here’s an example:
---
title: "My First Post"
date: "2024-09-01"
---

Welcome to my new blog! This is my first post using Astro.
Customizing the Layout
Astro uses a component-based layout system. You can customize your blog’s layout by editing the components in src/components/. For example, you might want to adjust the Header.astro or Footer.astro components to fit your design preferences.
Styling Your Blog
Styling in Astro can be done using CSS, Sass, or even CSS-in-JS solutions. By default, Astro includes a global stylesheet located in src/styles/global.css. You can modify this file or add your own styles to customize the look and feel of your blog.
Building and Deploying
Once you’re happy with your blog, you can build it for production:
npm run build
This will generate static files in the dist/ directory. You can deploy these files to any static hosting provider, such as Netlify, Vercel, or GitHub Pages.
Conclusion
Creating a blog with Astro was a smooth and enjoyable experience. Its component-based architecture and built-in optimizations make it a powerful tool for building fast, modern websites. With “magical-metal,” I’ve built a blog that’s not only performant but also easy to maintain and customize.
Feel free to check out the source code for “magical-metal” on GitHub and let me know if you have any questions or feedback!